Travel Trailer Mains Water Not Working? How to Find and Fix the Problem
The Symptom
You arrive at a travel trailer park, connect the hose from the tap to your van's mains water inlet, turn the tap on — and nothing comes out of your taps inside.
The water pump works perfectly on tank water. The problem is only with the mains connection. You end up filling the tanks from the hose and running off the pump for the whole trip.
This is one of the most common travel trailer plumbing issues in the US, and in most cases it comes down to one small component.
How Your travel trailer's Mains Water System Works
Planning your next road trip?
KamperHub helps you plan routes, track weights, and travel with confidence. Free to use — no credit card required.
Get Started FreeBefore diving into the fix, it helps to understand how the two water sources — tank and mains — work together.
Your travel trailer has two ways of getting water to the taps:
- Tank water — The 12V water pump draws water from your onboard freshwater tank and pushes it through the plumbing to your taps. You turn the pump on with a switch inside the van.
- Mains water — When you connect a hose to the external mains water inlet, the park's water pressure pushes water directly through your plumbing to the taps. The pump should be switched off when using mains water.
These two water paths join together inside the van's plumbing, but they are kept separate by non-return valves (also called check valves or one-way valves). These valves ensure:
- Mains water pressure does not push water backwards into your tank
- Your pump does not push tank water backwards out through the mains inlet
There is no electronic switching or logic. The whole system relies on these simple mechanical valves and water pressure to direct the flow correctly.
The Pressure Limiting Valve
Between the external mains inlet and your internal plumbing sits a pressure limiting valve (PLV). American town water pressure typically runs at around 500 kPa but can spike as high as 1,000 kPa in some areas. Your travel trailer's plumbing is only rated for around 350 kPa.
The PLV reduces the incoming mains pressure to a safe 350 kPa to protect your hoses, fittings, and taps from damage. Most PLVs also have a built-in non-return valve.
You will usually find the PLV near the front A-frame of your travel trailer, close to the mains water inlet. On some models, it is located further back on the driver's side behind the rear wheel.
The Most Likely Cause: A Jammed Pressure Limiting Valve
In the vast majority of cases, the problem is a stuck or corroded pressure limiting valve. This is so common that experienced travel trailer repairers check it first every time.
Why It Gets Stuck
travel trailer park taps often spit out grit, sand, sediment, and mineral deposits — especially when first turned on. This debris flows straight into your PLV and over time:
- The brass piston inside becomes discoloured and pitted from corrosion
- Grit lodges between the piston and the barrel, preventing it from sliding
- The spring mechanism jams, blocking water flow entirely or reducing it to a trickle
- Mineral deposits build up and seize the internal components
Once the piston is stuck, the mains water pressure pushes it closed but the spring cannot push it back open. Result: no water gets through.
How to Fix It
Tools you will need:
- Two spanners (1-inch or adjustable shifting spanners work well)
- A bucket or towel to catch water
- White vinegar
- Plumber's grease (not Vaseline — proper silicone-based plumber's grease from the hardware store, around $8–$15)
- Teflon tape
Step-by-step:
- Turn off the water supply and disconnect the hose from the mains inlet
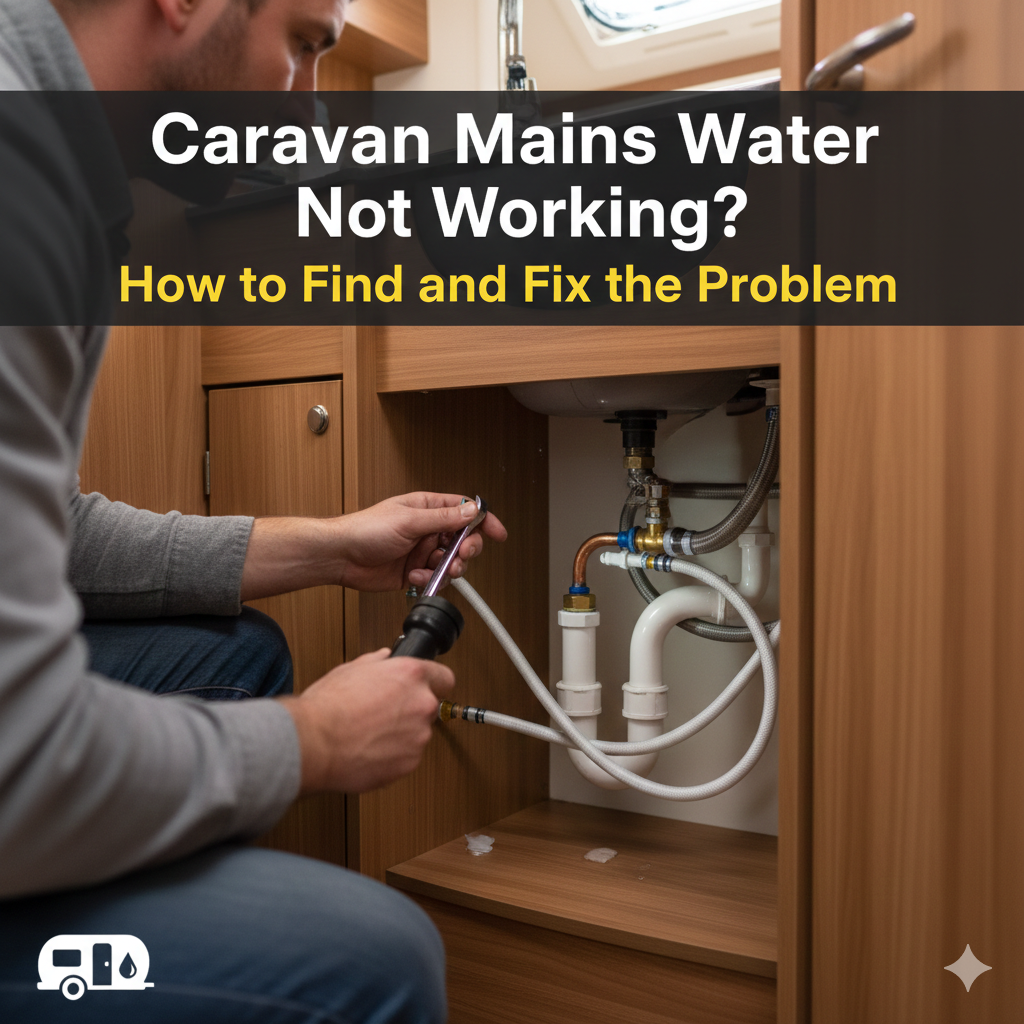
- Locate the PLV — follow the pipe from the mains inlet. It is usually a small brass or chrome fitting with threaded ends, mounted to the chassis or A-frame
- Remove the PLV — undo the clamps holding it to the frame, then unscrew the fittings on each end. Have a bucket ready
- Disassemble the valve — use the two spanners to unscrew the two halves of the valve body. It is not spring-loaded when you unscrew it, so parts will not fly out
- Inspect the piston — pull out the brass piston and spring. If the piston is dark, corroded, or has visible grit on it, you have found your problem
- Clean everything — soak all the components in white vinegar for 15–30 minutes. Vinegar dissolves mineral deposits and removes grime. Rinse with clean water and dry thoroughly
- Check the O-rings — inspect the rubber O-rings for cracks, hardening, or deformation. Replace them if they look worn (available from plumbing supply stores for a few dollars)
- Apply plumber's grease — smear a thin layer of silicone plumber's grease on the piston and O-rings. This helps the piston slide freely and provides a better seal
- Reassemble — put it all back together, wrap the threads with fresh Teflon tape, and refit to the travel trailer
- Test — reconnect the hose and turn on the tap. You should have full water flow inside the van
Total cost if you DIY: Under $30 for grease and tape.
When to Replace Instead of Clean
If the piston is heavily pitted, the barrel is scored, or cleaning does not restore smooth movement, replace the entire valve. A new PLV with integrated non-return valve costs around $80–$90 from travel trailer accessory stores.
Important: When buying a replacement, make sure it includes both the pressure limiter AND the non-return valve. Some cheaper units only have the pressure reducer — without the one-way function, your pump water will escape out the mains outlet when you are running off tank water.
Other Possible Causes
If cleaning or replacing the PLV does not fix the problem, work through these:
Stuck Non-Return Valve (Check Valve)
Separate from the PLV, there is usually a non-return valve on the outlet side of your water pump. This valve stops mains water from pushing back through the pump and into the tank.
If this valve is stuck closed, it can also block mains water flow. Locate it (usually near the pump), remove it, and check that it opens freely when you push through from the correct direction.
Some owners have fixed a stuck check valve by simply tapping it firmly or pushing a small rod gently through from the underside until it clicks open.
Air Lock in the Lines
If the plumbing lines have been drained (for winterising, transport, or after running a tank dry), air can become trapped in the pipes and block water flow.
To clear an air lock:
- Fill the water tank (even partially)
- Turn the water pump on
- Open the tap closest to the pump
- Let the pump push water through until it runs smoothly with no sputtering
- Work through each tap in the van, opening them one at a time
- Once all air is purged, switch back to mains and test
Kinked or Collapsed Hose
Check the hose between the tap and your inlet. A kink — especially where the hose bends around corners or under the van — can completely stop flow. Also check that the hose itself has not deteriorated and collapsed internally. Cheap garden hoses are prone to this.
Use a dedicated drinking-water-safe travel trailer hose (the white or blue food-grade ones). They are more rigid than garden hoses and less likely to kink or collapse under pressure.
The Park Tap Itself
Before tearing into your plumbing, check the obvious — is the park's tap actually working? Turn it on without the hose connected and check the flow. Some travel trailer park taps have very low pressure, and older parks can have partially blocked or faulty taps.
Try a different tap or site if possible to rule this out.
Blocked Inlet Filter
Some travel trailer mains inlets have a small mesh filter screen where the hose connects. Check whether this screen is clogged with sediment or debris. Remove it, clean it, and refit.
How to Prevent This From Happening Again
Install an Inline Water Filter
The single best thing you can do is fit an inline water filter between the park tap and your travel trailer's mains inlet. A basic sediment filter ($40–$80) catches grit, sand, and debris before it reaches your PLV.
Many experienced travellers consider this essential kit. Replace the filter cartridge regularly — how often depends on the water quality of the parks you visit, but check it every few weeks.
Run the Tap Before Connecting
Before attaching the hose to your van, turn the park tap on and let it run for 10–15 seconds. This flushes out the initial burst of sediment and grit that sits in the tap and pipe.
Service the PLV Annually
Even with a filter, give your pressure limiting valve a clean and grease once a year as part of your regular travel trailer service. It only takes 15 minutes and prevents the kind of corrosion buildup that causes sudden failures.
Carry a Spare PLV
They are small, cheap (under $90), and if yours fails in the middle of a trip, having a spare means you can swap it out in 10 minutes rather than spending the whole holiday running off the pump.
Quick Diagnosis Flowchart
| Check This | If Yes | If No |
|---|---|---|
| Is the park tap running? | Move to next check | Try a different tap |
| Is the hose kinked or blocked? | Straighten or replace hose | Move to next check |
| Is the inlet filter clean? | Move to next check | Clean the filter screen |
| Does water flow if you bypass the PLV? | PLV is the problem — clean or replace it | Check the non-return valve near the pump |
| Does tank water work via the pump? | Confirms pump and internal plumbing are fine — issue is in the mains supply path | Separate issue — check pump, fuse, and tank level |
Summary
In most cases, a travel trailer that has no water flow on mains but works fine on the pump comes down to a jammed pressure limiting valve. Grit from park taps corrodes and seizes the internal piston over time.
The fix is straightforward — remove the PLV, clean it with vinegar, grease the piston, and reassemble. If it is too far gone, replace it for around $80–$90. Then fit an inline filter to stop it happening again.
It is a 30-minute job that will save you from spending another weekend running off the pump.
KamperHub helps travel trailer owners manage their trips, track vehicle specs, and plan routes across the US. [Start your free trial today](https://app.kamperhub.com).
Useful Resources
Join the Conversation
Found this helpful? Try KamperHub — it's free
Weight tracking, trip planning, and towing compliance — all in one app.
KamperHub Team
Helping travellers tow safely and confidently. KamperHub provides tools for trip planning, weight compliance, and adventure management.
Plan Your Next Caravan Adventure with KamperHub
Trip planning, weight tracking, fuel management, and more. Everything you need for safe and confident towing.
Get Started Free