Snake Bite Kits for Caravanning: What to Buy, What to Do, and What Most People Get Wrong
Why Every Caravan Needs a Snake Bite Kit
Australia is home to around 140 species of land snakes, and many of them are among the most venomous in the world. Eastern Brown Snakes, Tiger Snakes, Red-bellied Black Snakes, Death Adders, and Copperheads are all commonly found in and around caravan parks, campgrounds, and bush campsites across the country.
The reality is that fatal snake bites in Australia are rare — around 6 deaths per year — largely because modern first aid and antivenom are extremely effective. But that first aid needs to happen quickly and correctly, and you need the right gear on hand to do it.
If you are caravanning or camping anywhere in Australia, a dedicated snake bite kit is essential equipment. A standard first aid kit may not contain the right bandages for the job.
What to Look for in a Snake Bite Kit
Planning your next road trip?
KamperHub helps you plan routes, track weights, and travel with confidence. Free to use — no credit card required.
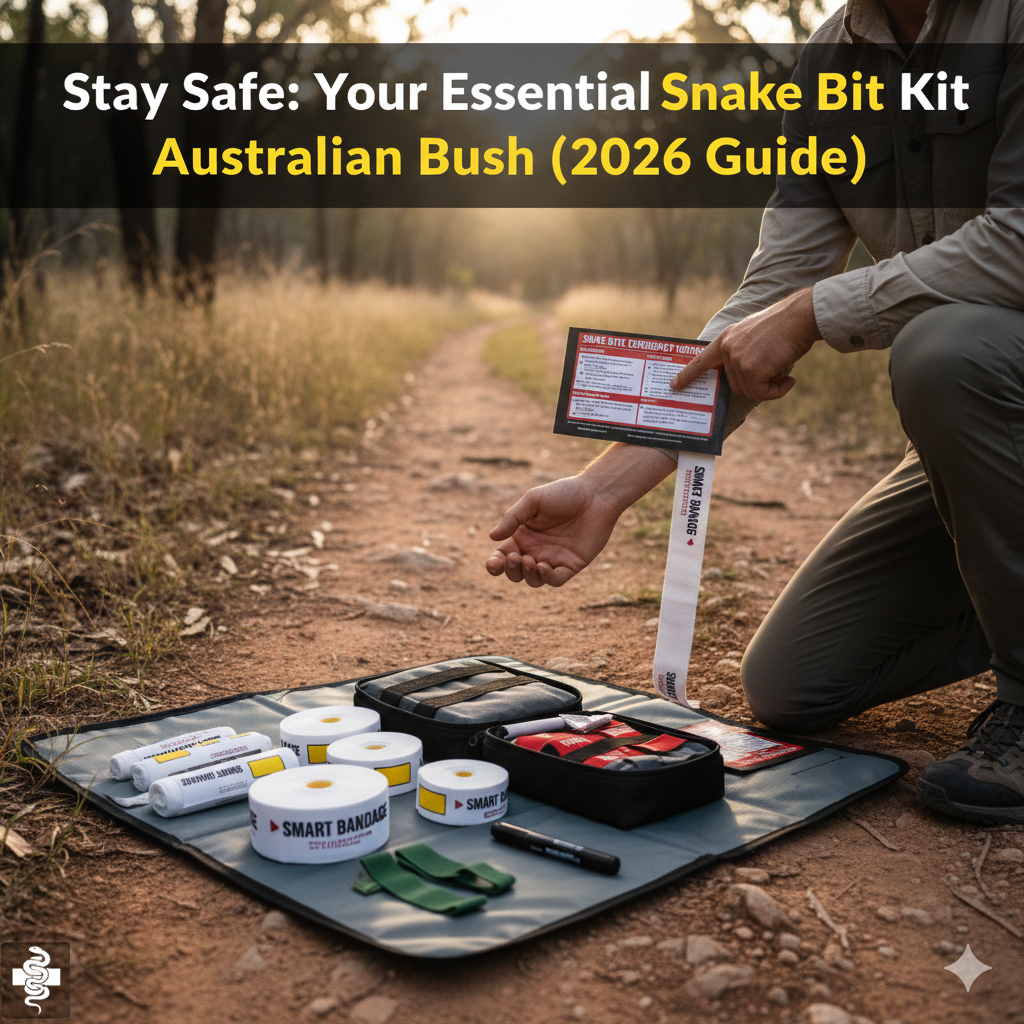
Get Started FreeA good snake bite kit does not need to be complicated. The critical component is pressure immobilisation bandages — specifically, heavy-duty crepe bandages that are wide enough (10–15 cm) and long enough to wrap an entire limb from fingers to shoulder or toes to groin.
Essential Contents
| Item | Purpose |
|---|---|
| 2–3 pressure immobilisation bandages (10 cm x 2 m minimum) | Wrap the entire bitten limb to slow venom spread through the lymphatic system |
| SMART indicator bandage (recommended) | Printed rectangles that stretch into squares when applied at the correct pressure — removes the guesswork |
| Triangular bandage or splint | Immobilise the limb after bandaging |
| Marker pen | Mark the bite site on the bandage so medical staff can locate it |
| Cotton gauze swabs | Cover the bite area before bandaging |
| Emergency blanket | Keep the patient warm while waiting for help |
| CPR guide / instruction card | Step-by-step first aid reference |
| Bite record card | Record time of bite, symptoms, and treatment for paramedics |
What You Do NOT Need
Some older or overseas-style snake bite kits include items that are not recommended in Australia:
- Suction devices — Do not work on Australian snake venom and waste precious time
- Tourniquets — Can cause tissue damage and are not part of the Australian protocol
- Scalpels or blades — Cutting the bite site is dangerous and ineffective
- Venom extractors — Not endorsed by any Australian medical authority
The correct Australian first aid for snake bite is Pressure Immobilisation Technique (PIT) — bandaging and immobilisation only. Nothing else.
Best Snake Bite Kits Available in Australia
SURVIVAL Snake Bite First Aid Kit
This is the most widely recommended kit across Australian caravan and camping retailers.
- Designed in Australia by leading first aid experts in conjunction with snake safety specialists (SSSafe)
- Contains 3 pressure bandages — 2 x SMART Bandages (heavy duty, reusable, washable, 10 cm x 2 m) plus 1 x medium weight (10 cm x 1.8 m)
- SMART Bandages have printed indicator rectangles that stretch into squares when you apply the correct pressure — this is the single most useful feature because getting the bandage tension right is the hardest part of the technique
- Includes cotton gauze swabs, emergency blanket, and step-by-step instructions
- Compact and lightweight — 555 grams, clips onto belts, backpacks, or stores easily in the caravan
- Available from Caravan RV Camping, Go Camping & Overlanding, and Survival First Aid Kits
MAXTRAX Snake Bite First Aid Kit
- 600D Oxford polyester bag — durable and water-resistant
- Includes 3 pressure bandages (2 x SMART Bandages), instruction card with bite record register, and CPR card
- Compact design from a well-known Australian 4WD and off-road brand
- Available from MAXTRAX
Wildtrak Snake Bite First Aid Kit (14-piece)
- Budget-friendly option with 14 components
- Good entry-level kit for caravanners who want basic snake bite coverage
- Available from Wildtrak Leisure
First Aid Works Snake Bite Kit
- Lightweight and compact
- Designed for hikers, campers, farmers, and outdoor workers
- Available from First Aid Works
Our pick: The SURVIVAL Snake Bite Kit is the standout choice for caravan travellers. The SMART indicator bandages take the guesswork out of getting the pressure right, and the kit is specifically designed for Australian venomous snakes and funnel-web spiders.
The Correct First Aid: Pressure Immobilisation Technique
This is the only endorsed method for treating snake bites in Australia. It was developed by Australian researchers and is recommended by the Australian Resuscitation Council (ANZCOR), all state ambulance services, and the Australian Venom Research Unit.
The technique works because most Australian snake venom travels through the lymphatic system, not the bloodstream. Firm bandaging and keeping still dramatically slows lymphatic drainage, buying hours of time for the patient to reach hospital.
Step-by-Step
1. Call 000 immediately
Every snake bite in Australia should be treated as potentially life-threatening, even if the person feels fine initially. Symptoms can be delayed.
2. Keep the person still and calm
Lie them down. Movement pumps venom through the lymphatic system faster. The single most important thing after calling for help is keeping the person as still as possible.
3. Do not remove clothing
The movement involved in taking off a shirt or rolling up a trouser leg can spread venom. Bandage over the top of clothing.
4. Remove jewellery and watches
Rings, bracelets, and watches on the bitten limb should come off now, before any swelling starts.
5. Apply the pressure bandage
- Start at the fingers or toes of the bitten limb (not at the bite site)
- Wrap firmly up the limb towards the body, covering as much of the limb as possible
- Include the bite site as you wrap past it
- The bandage should be as firm as you would bandage a sprained ankle — tight enough that you cannot easily slide a finger underneath, but not so tight that it cuts off blood circulation
- If using SMART Bandages, the printed rectangles should stretch into squares at the correct tension
6. Mark the bite site
Use a pen to draw a circle on the bandage over where you believe the bite is. This helps hospital staff locate it without removing the bandage. Venom left on the skin or clothing can be tested to identify the snake species.
7. Splint the limb
Apply a rigid splint (a stick, a rolled-up magazine, a camping chair leg — anything firm) along the limb and bandage it in place. Immobilise the joints above and below the bite.
8. Keep them still and wait
Do not let the person walk, even if they feel fine. Carry them to the vehicle if you need to move them. Monitor their breathing and be prepared to perform CPR if needed.
What NOT to Do
| Do NOT | Why |
|---|---|
| Wash the bite | Venom on the skin helps identify the snake species at hospital |
| Cut the bite or try to suck out venom | Does not work, causes additional injury |
| Apply a tourniquet | Restricts blood flow and can cause tissue damage |
| Apply ice | Does not slow venom spread and can cause frostbite |
| Give the person alcohol | Speeds up circulation and venom absorption |
| Try to catch or kill the snake | Risk of a second bite, and it is illegal to kill most Australian snakes |
| Remove the bandage | Leave it on until the patient is at hospital with antivenom ready |
Critical point: Do NOT remove the pressure bandage once applied, even if the person feels better. When the bandage comes off, trapped venom can flood into the bloodstream rapidly. Bandages should only be removed by medical professionals with antivenom and resuscitation equipment standing by.
Where Encounters Happen
Snake encounters around caravans and campsites are most common in spring and summer when snakes come out of hibernation and are actively hunting. But they can occur year-round in warmer parts of Australia.
Common encounter situations for caravanners:
- Walking to the amenities block at night — a man was bitten by a Death Adder at a caravan park near Broome while walking back from the showers in the dark
- Reaching under the caravan — snakes shelter in the shade under vehicles during hot days
- Collecting firewood — snakes hide under logs and woodpiles
- Around water sources — creeks, rivers, and dam edges near campgrounds are prime snake habitat
- Inside the caravan — if the door is left open, curious snakes can enter
Prevention Tips
- Keep the caravan door closed — the best advice from Queensland Museum snake experts
- Use a torch at night — always light your path when walking around the campsite after dark
- Wear enclosed shoes — not thongs or bare feet, especially around bush campsites
- Check shoes and bedding — shake out shoes, clothes, and sleeping bags before use
- Keep the campsite clean — food scraps attract mice, and mice attract snakes
- Do not reach blindly — under the van, into storage boxes, or into long grass without checking first
- Give snakes space — if you see one, back away slowly and let it move on. Most bites happen when people try to interact with or kill a snake
How Many Kits Do You Need?
For caravan travel, consider having at least two:
- One in the caravan — stored in an accessible location that everyone in the family knows about (not buried in the back of a cupboard)
- One in a day pack or the tow vehicle — for when you are away from the van on walks, fishing, or exploring
If you regularly bushwalk or hike, carry a kit on your person. The compact SURVIVAL or MAXTRAX kits clip directly onto a belt or backpack.
Do a First Aid Course
Owning a kit is only useful if you know how to use it under pressure. The single best investment you can make is a first aid course that includes snake bite management. Courses are available from:
- St John Ambulance — stjohn.org.au
- Australian Red Cross — redcross.org.au
- Royal Life Saving — royallifesaving.com.au
Most courses cover the Pressure Immobilisation Technique as part of the standard curriculum and include hands-on practice with bandaging.
Summary
| What to Do | Details |
|---|---|
| Buy a dedicated kit | SURVIVAL Snake Bite Kit (recommended) — ~$30–$50 |
| Learn the technique | Pressure Immobilisation — bandage firmly from fingers/toes upward, splint, keep still |
| Carry it always | One in the van, one in your day pack |
| Do a course | St John, Red Cross, or Royal Life Saving |
| Prevention | Door closed, torch at night, enclosed shoes, clean campsite |
A snake bite kit weighs 555 grams and costs less than a caravan park powered site for one night. There is no good reason not to have one.
Planning your next trip? KamperHub helps you manage your caravan, plan routes, and stay organised on the road. [Start your free trial today](https://app.kamperhub.com).
Join the Conversation
Found this helpful? Try KamperHub — it's free
Weight tracking, trip planning, and towing compliance — all in one app.
KamperHub Team
Helping travellers tow safely and confidently. KamperHub provides tools for trip planning, weight compliance, and adventure management.
Plan Your Next Caravan Adventure with KamperHub
Trip planning, weight tracking, fuel management, and more. Everything you need for safe and confident towing.
Get Started Free